Their email algorithm is very effective at identifying emails that are attempting to defraud you.
Yet, Google occasionally errs and may classify crucial emails and messages as “spam.” In fact, it’s more than likely that you have some IMPORTANT emails in your spam folder right now. Google quickly places more emails in the folder “just in case”, airing on the side of caution in an effort to safeguard you from scammers.
How can we ensure that we don’t overlook any crucial emails?
Whitelisting email addresses and domains is the solution.
Adding an email to your whitelist is a simple operation that can enable you deliver
Whitelisting an email is a very easy process that will help you deliver important emails and avoid ending up in your spam folder.
How To Whitelist using Desktop Apps:
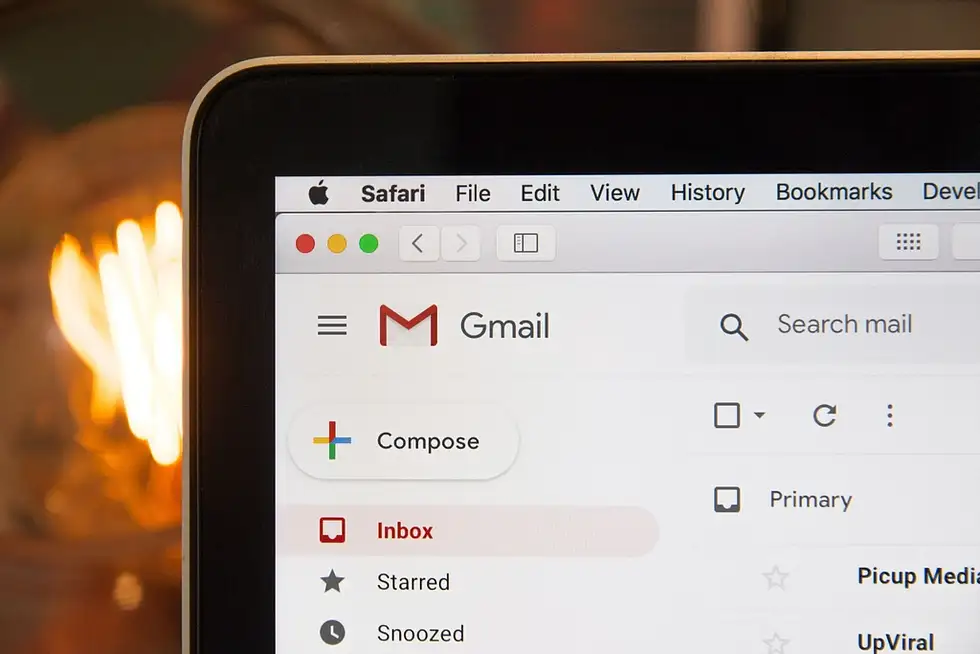
Gmail
#1 Log Into Your Gmail & Open Your Settings
Once you are in, click on the gear up top by your picture icon. A drop-down list will follow, select the “See all settings” tab.

#2 Select Filters and Blocked Addresses
Under the settings, you will see a row, click on the fifth option where it says “Filters and Blocked Addresses”.
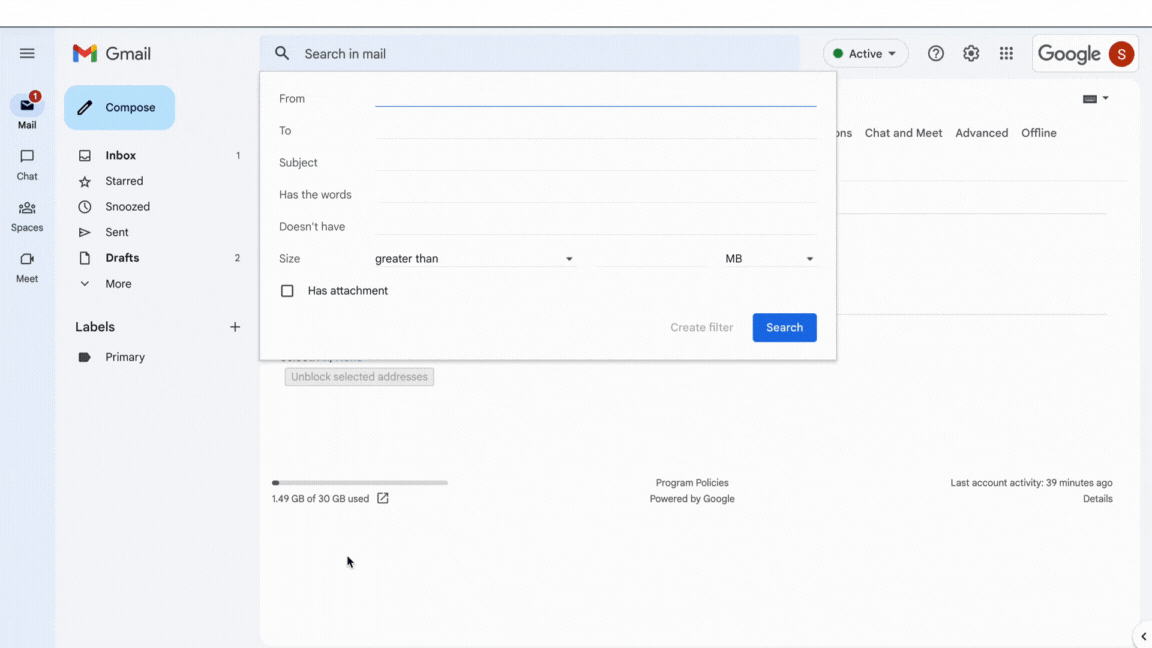
#3 Create A New Filter
Make sure you scroll down and select the “Create a new filter” button. This will be in the center of the page like so down below…
#4 Add Your Email Address That You Want To Whitelist
After you have selected the “Create a new filter” button, a pop-up showing an email address should appear like the one shown below. Type in the email address that you want to whitelist right next to the “from” line. After you have put in that information, make sure you select “Create filter”

#6 Confirm the Whitelisted Email Address
We recommend double-checking to make sure the email address has actually been whitelisted. After you select the “create filter” button you will be taken back to the settings page. Look under “themes” and see what filters are now applied to your email.
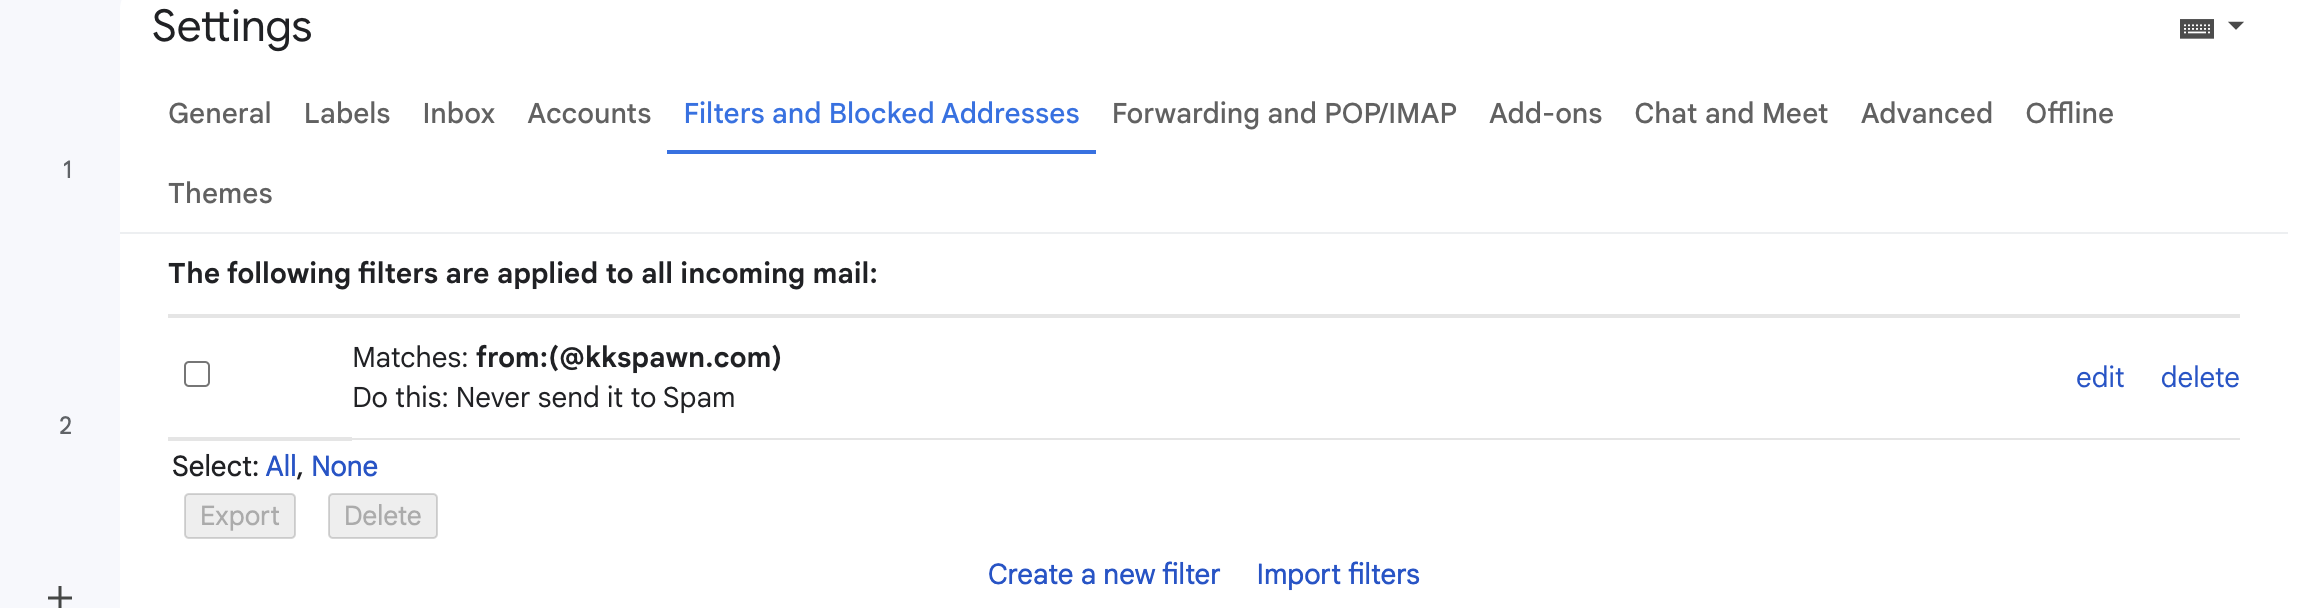
You should see the email you whitelisted with the message “Never send it to Spam” below it. That is it! Easy-peasy. Thank you so much!
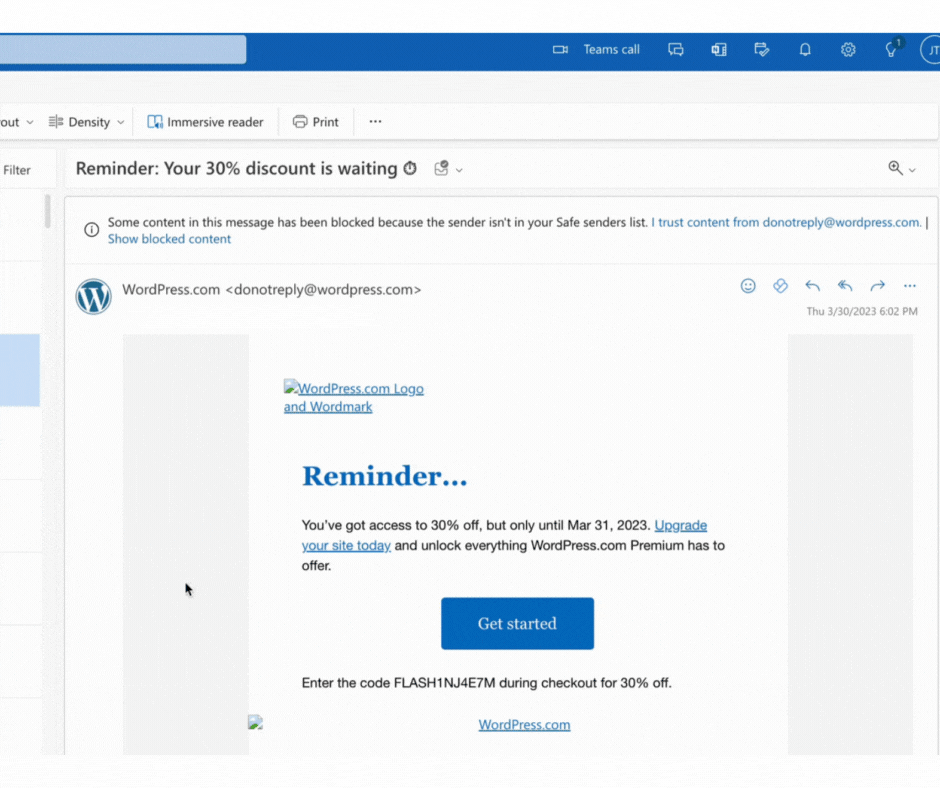
Outlook
Open the email to your whitelist. Click “I trust sender@domain.com”.
Gmail
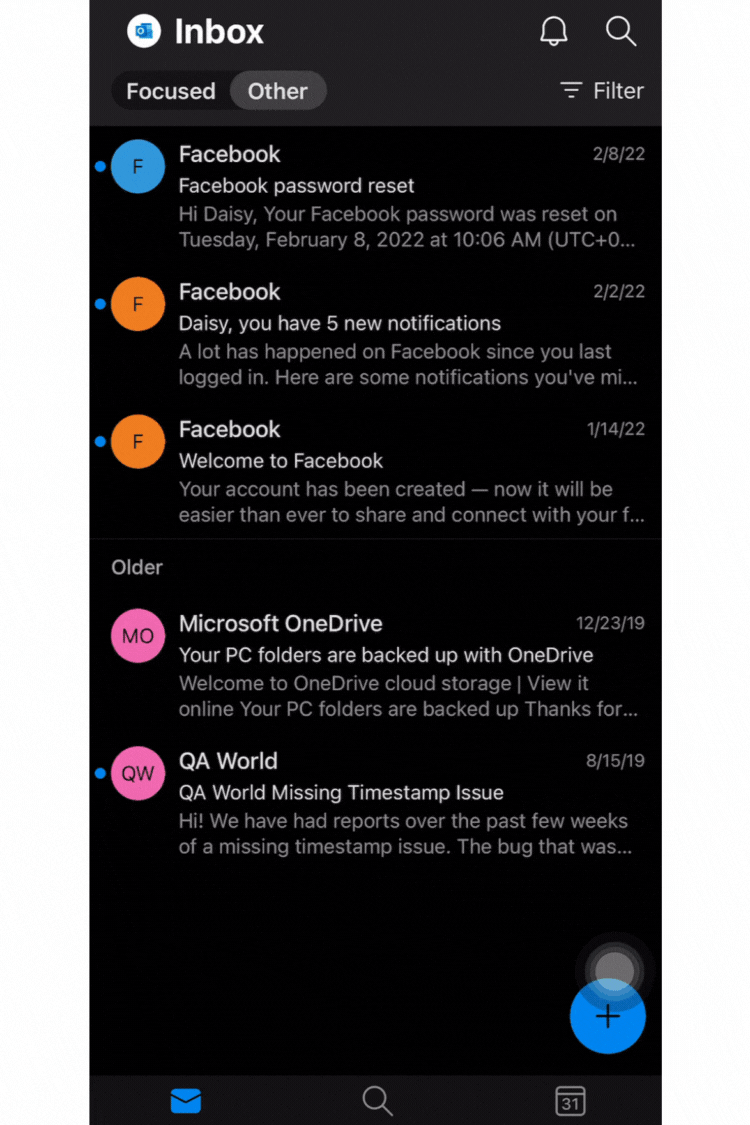
How To Whitelist using Mobile (tablet/phone) Email Apps:
GMAIL
You have two choices in the Gmail app:
1. Mark a message as “not spam” (if the email is in spam).
2. Transfer a message from the secondary inbox to the promotional inbox.
Open the email and click “Report not spam” if it keeps landing in your spam folder.
To give it a priority in your email, you may alternatively hit the three dots in the upper right corner and choose Mark important (shown in the video below).
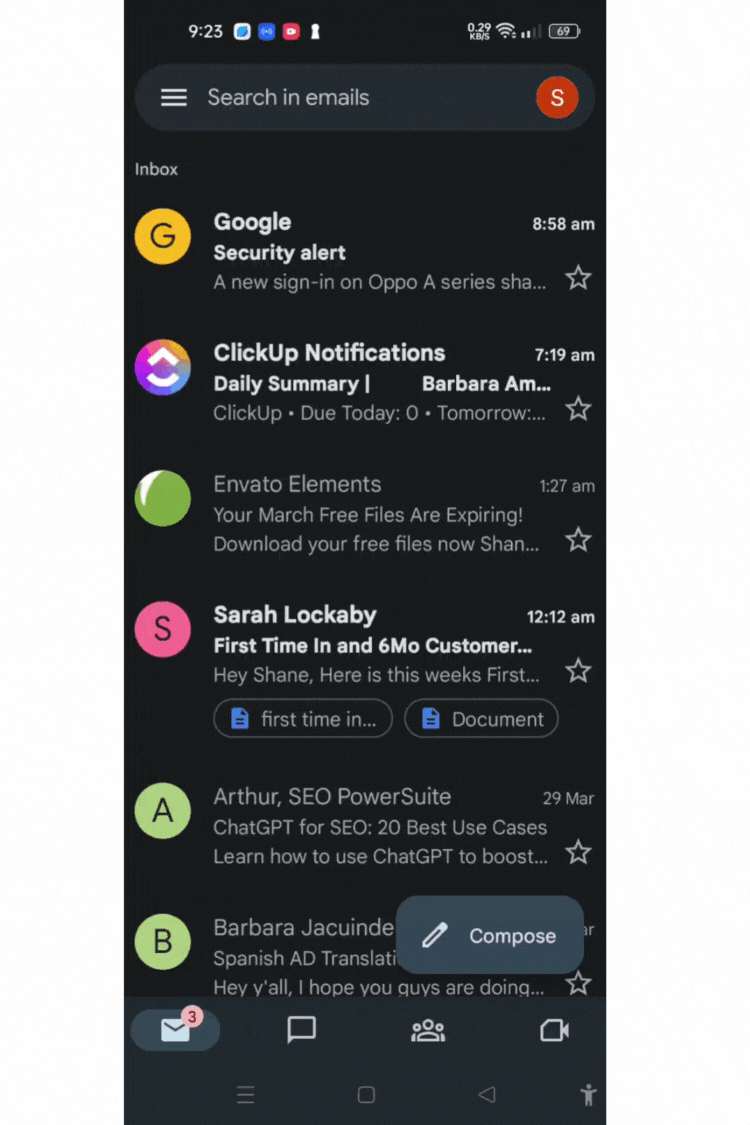
Option Two: Open the email, press the three dots in the top right corner, then select Move to > Main. This will move the email from the promotional folder to your primary inbox.
OUTLOOK MOBILE
To ensure delivery of communications, you can add senders to your focused inbox in Outlook for mobile. This is how:
1. Open the email you want to whitelist.
2. At the top right corner of the screen, click the three dots (not the dots inside the email).
3. Simply press Move to Focused Inbox.
4. Tap the “Always Move” button in the popup window.